BioHack Adcademy(BHA) 2022
A Personal Documentation of BHA 2022
Week3: Making the Lab
In this week, we are going to get used to fabrication tools (3D printer, laser cutter, and 3D design software). The purpose of this week is to learn how to make hardware by using fabrication tools.
I guess this week gonna be a hardest challenge for me who haven’t had any experiences of using either design nor modeling software…
1. Install and Test at least 2 different 3D Applications.
(2) Using 3D modeling software
Lists of software
I downloaded and tried to use these software shown below. However, I failed to download OpenSCAD and FreeCad due to the security reason of Macbook. About SketchUp, it appeared that it is usable to create something by myself but cannot be used for installing STL file unless I update (that means I have to resister the paid version). Also, handling Blender was, in my impression, too high-level for amateur like me. I thought it would be necessary more practice for dealing with these softwares well.
・SketchUp
・OpenSCAD
・FreeCAD
・Blender
・Fusion360
Making Spur Gear by Fusion360
For an excercise, I made a spur gear.
Reference
・【歯車マスターへの道】超入門編・Fusion360での歯車の作り方
・Fusion360で歯車を簡単に作る方法|噛み合わせて回転させるには?
・Fusion360による歯車設計
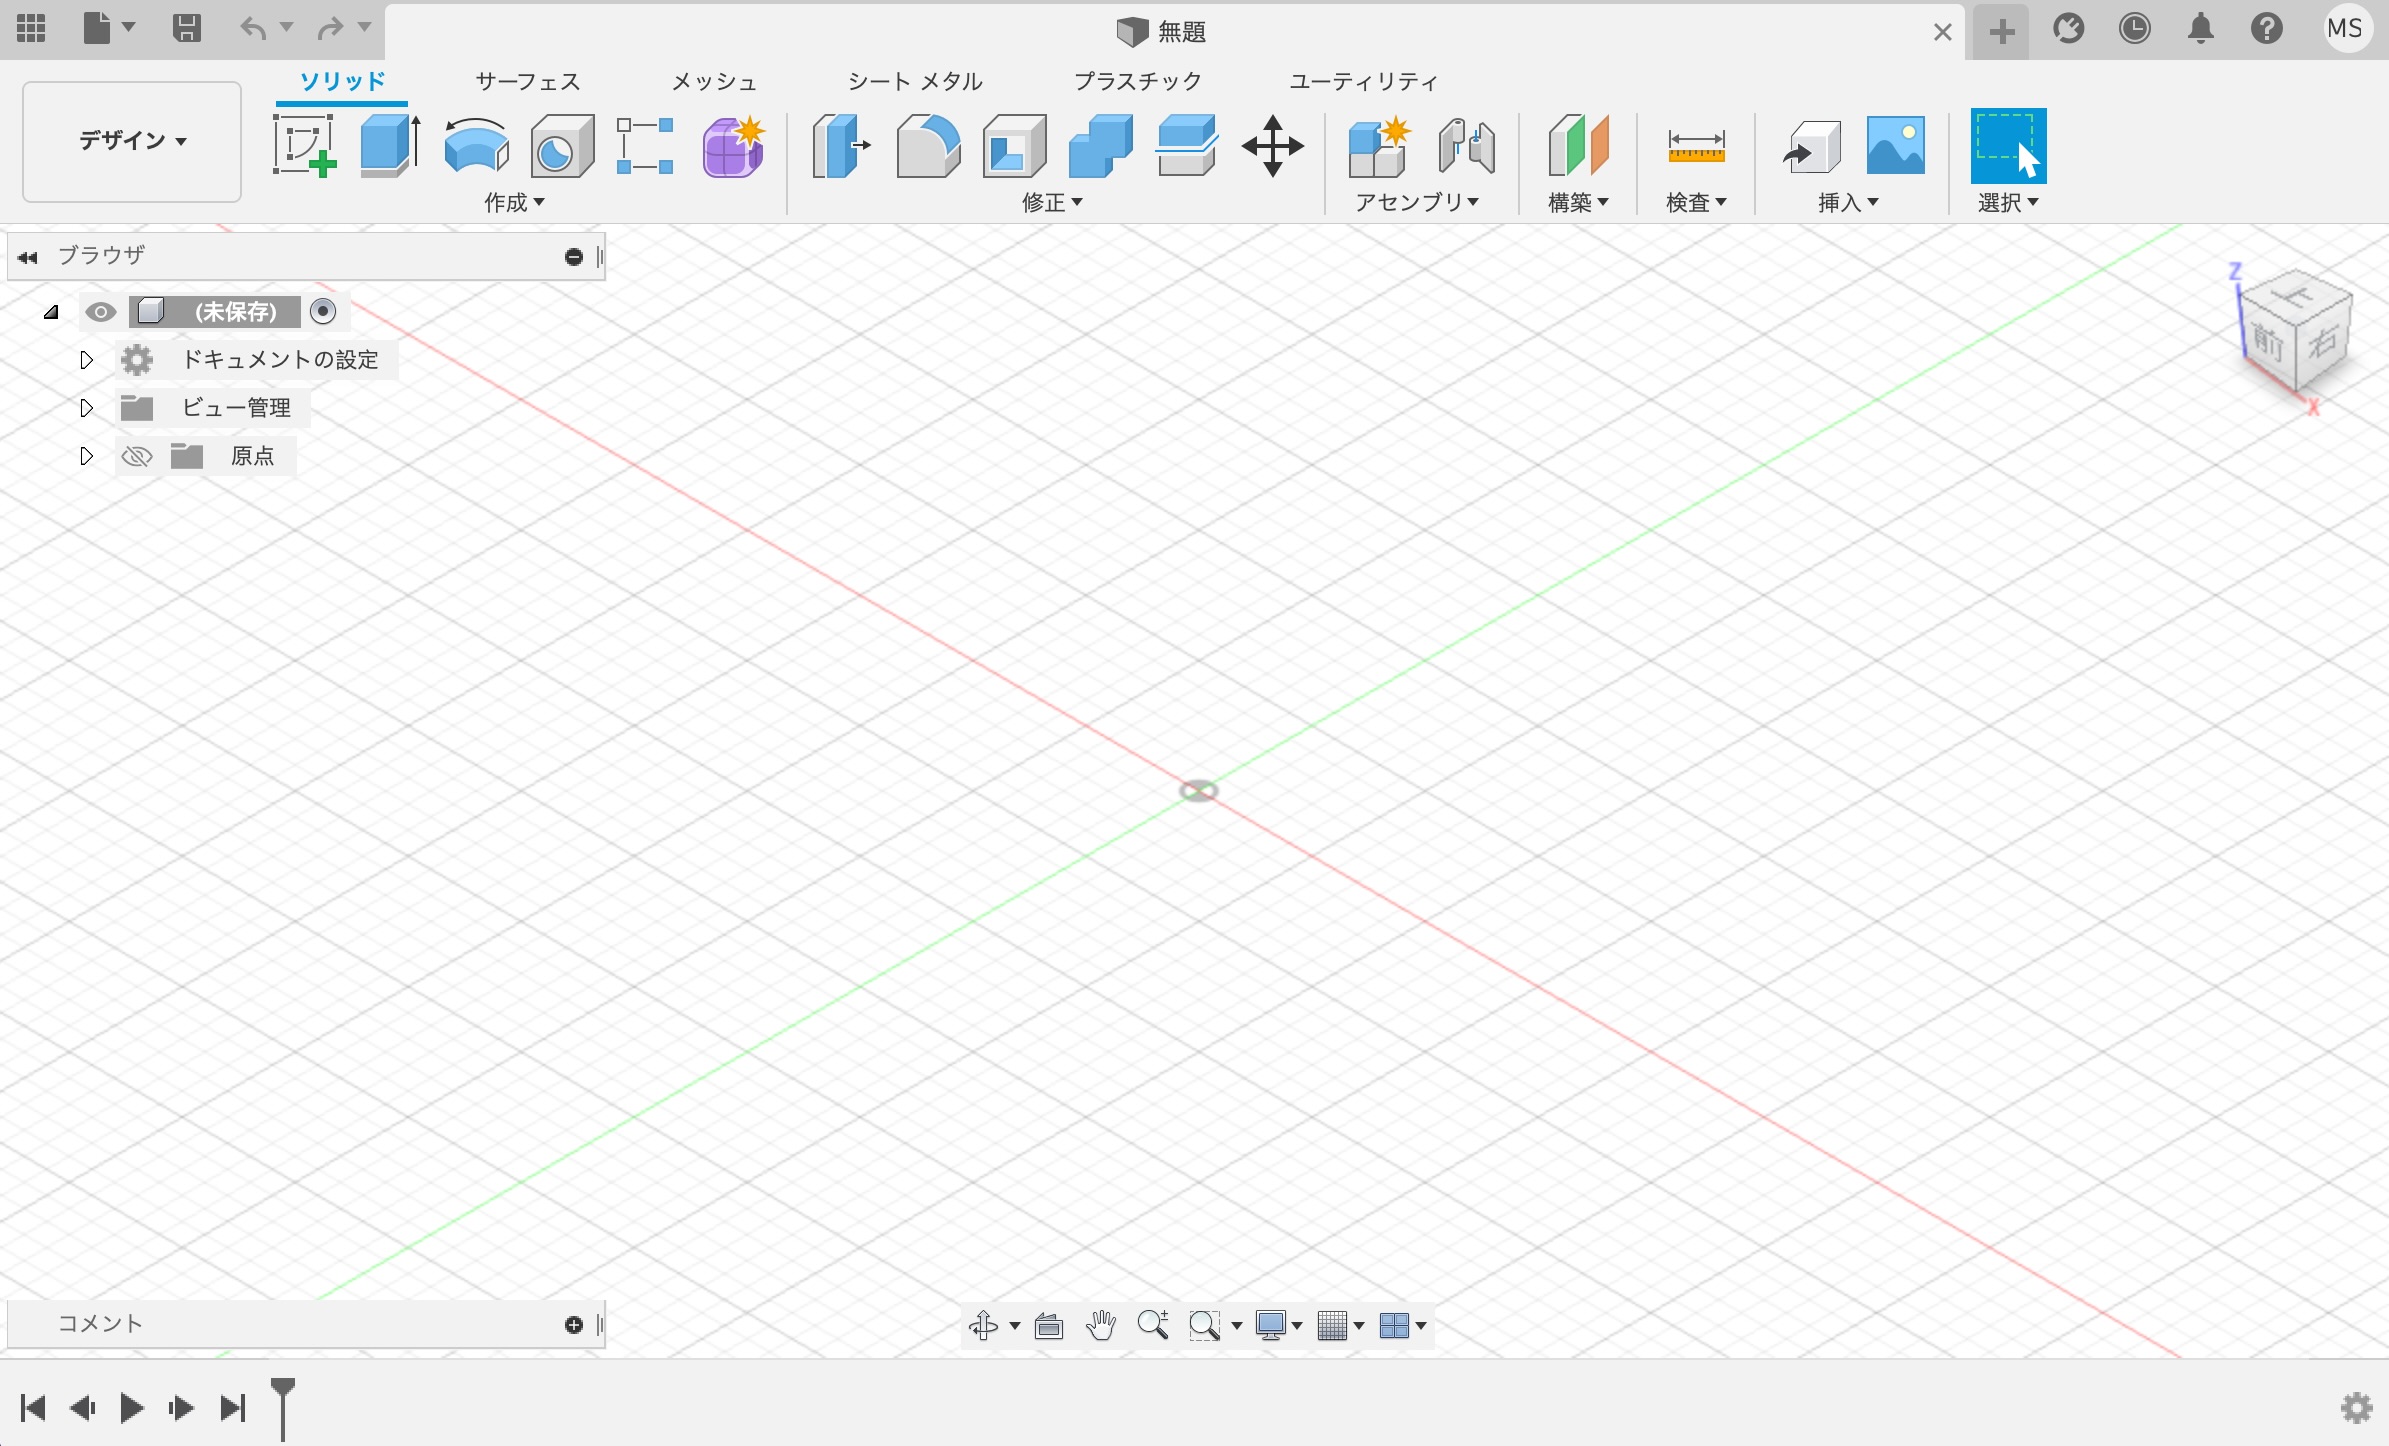
・ This is start screent of Fusion360.
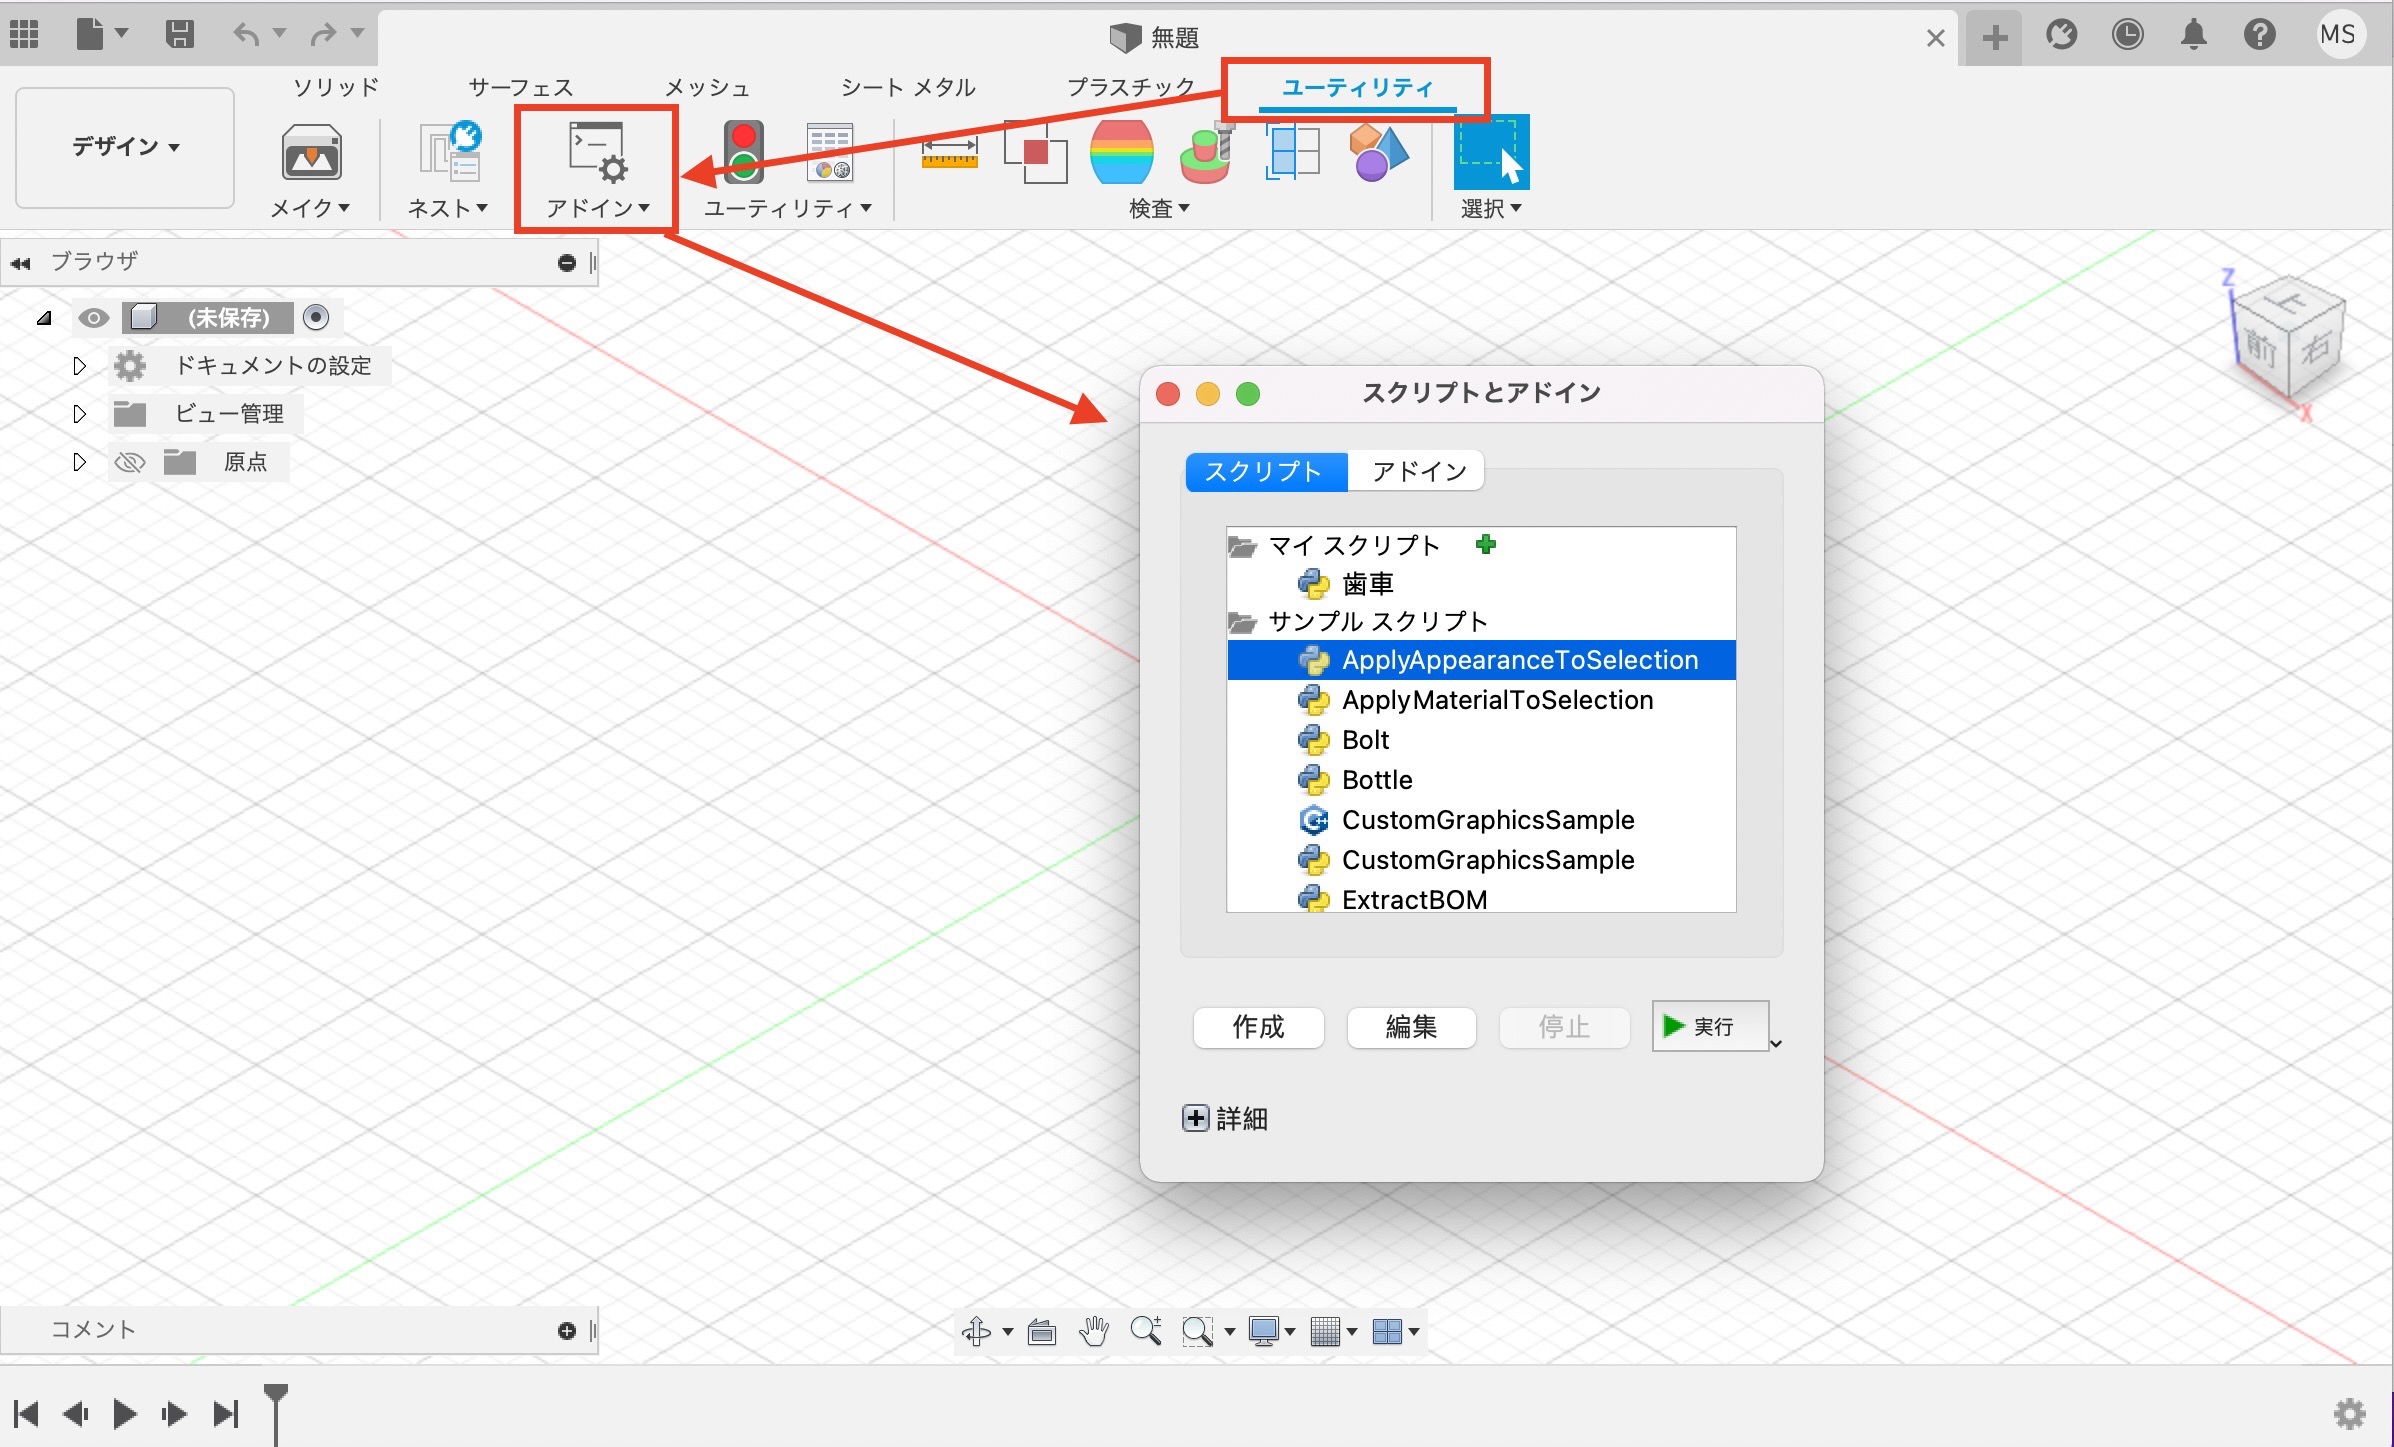
・ Utirity -> Add-in- > Select “SpurGear” from a list -> 「実行」
・ Setting of a spur gear
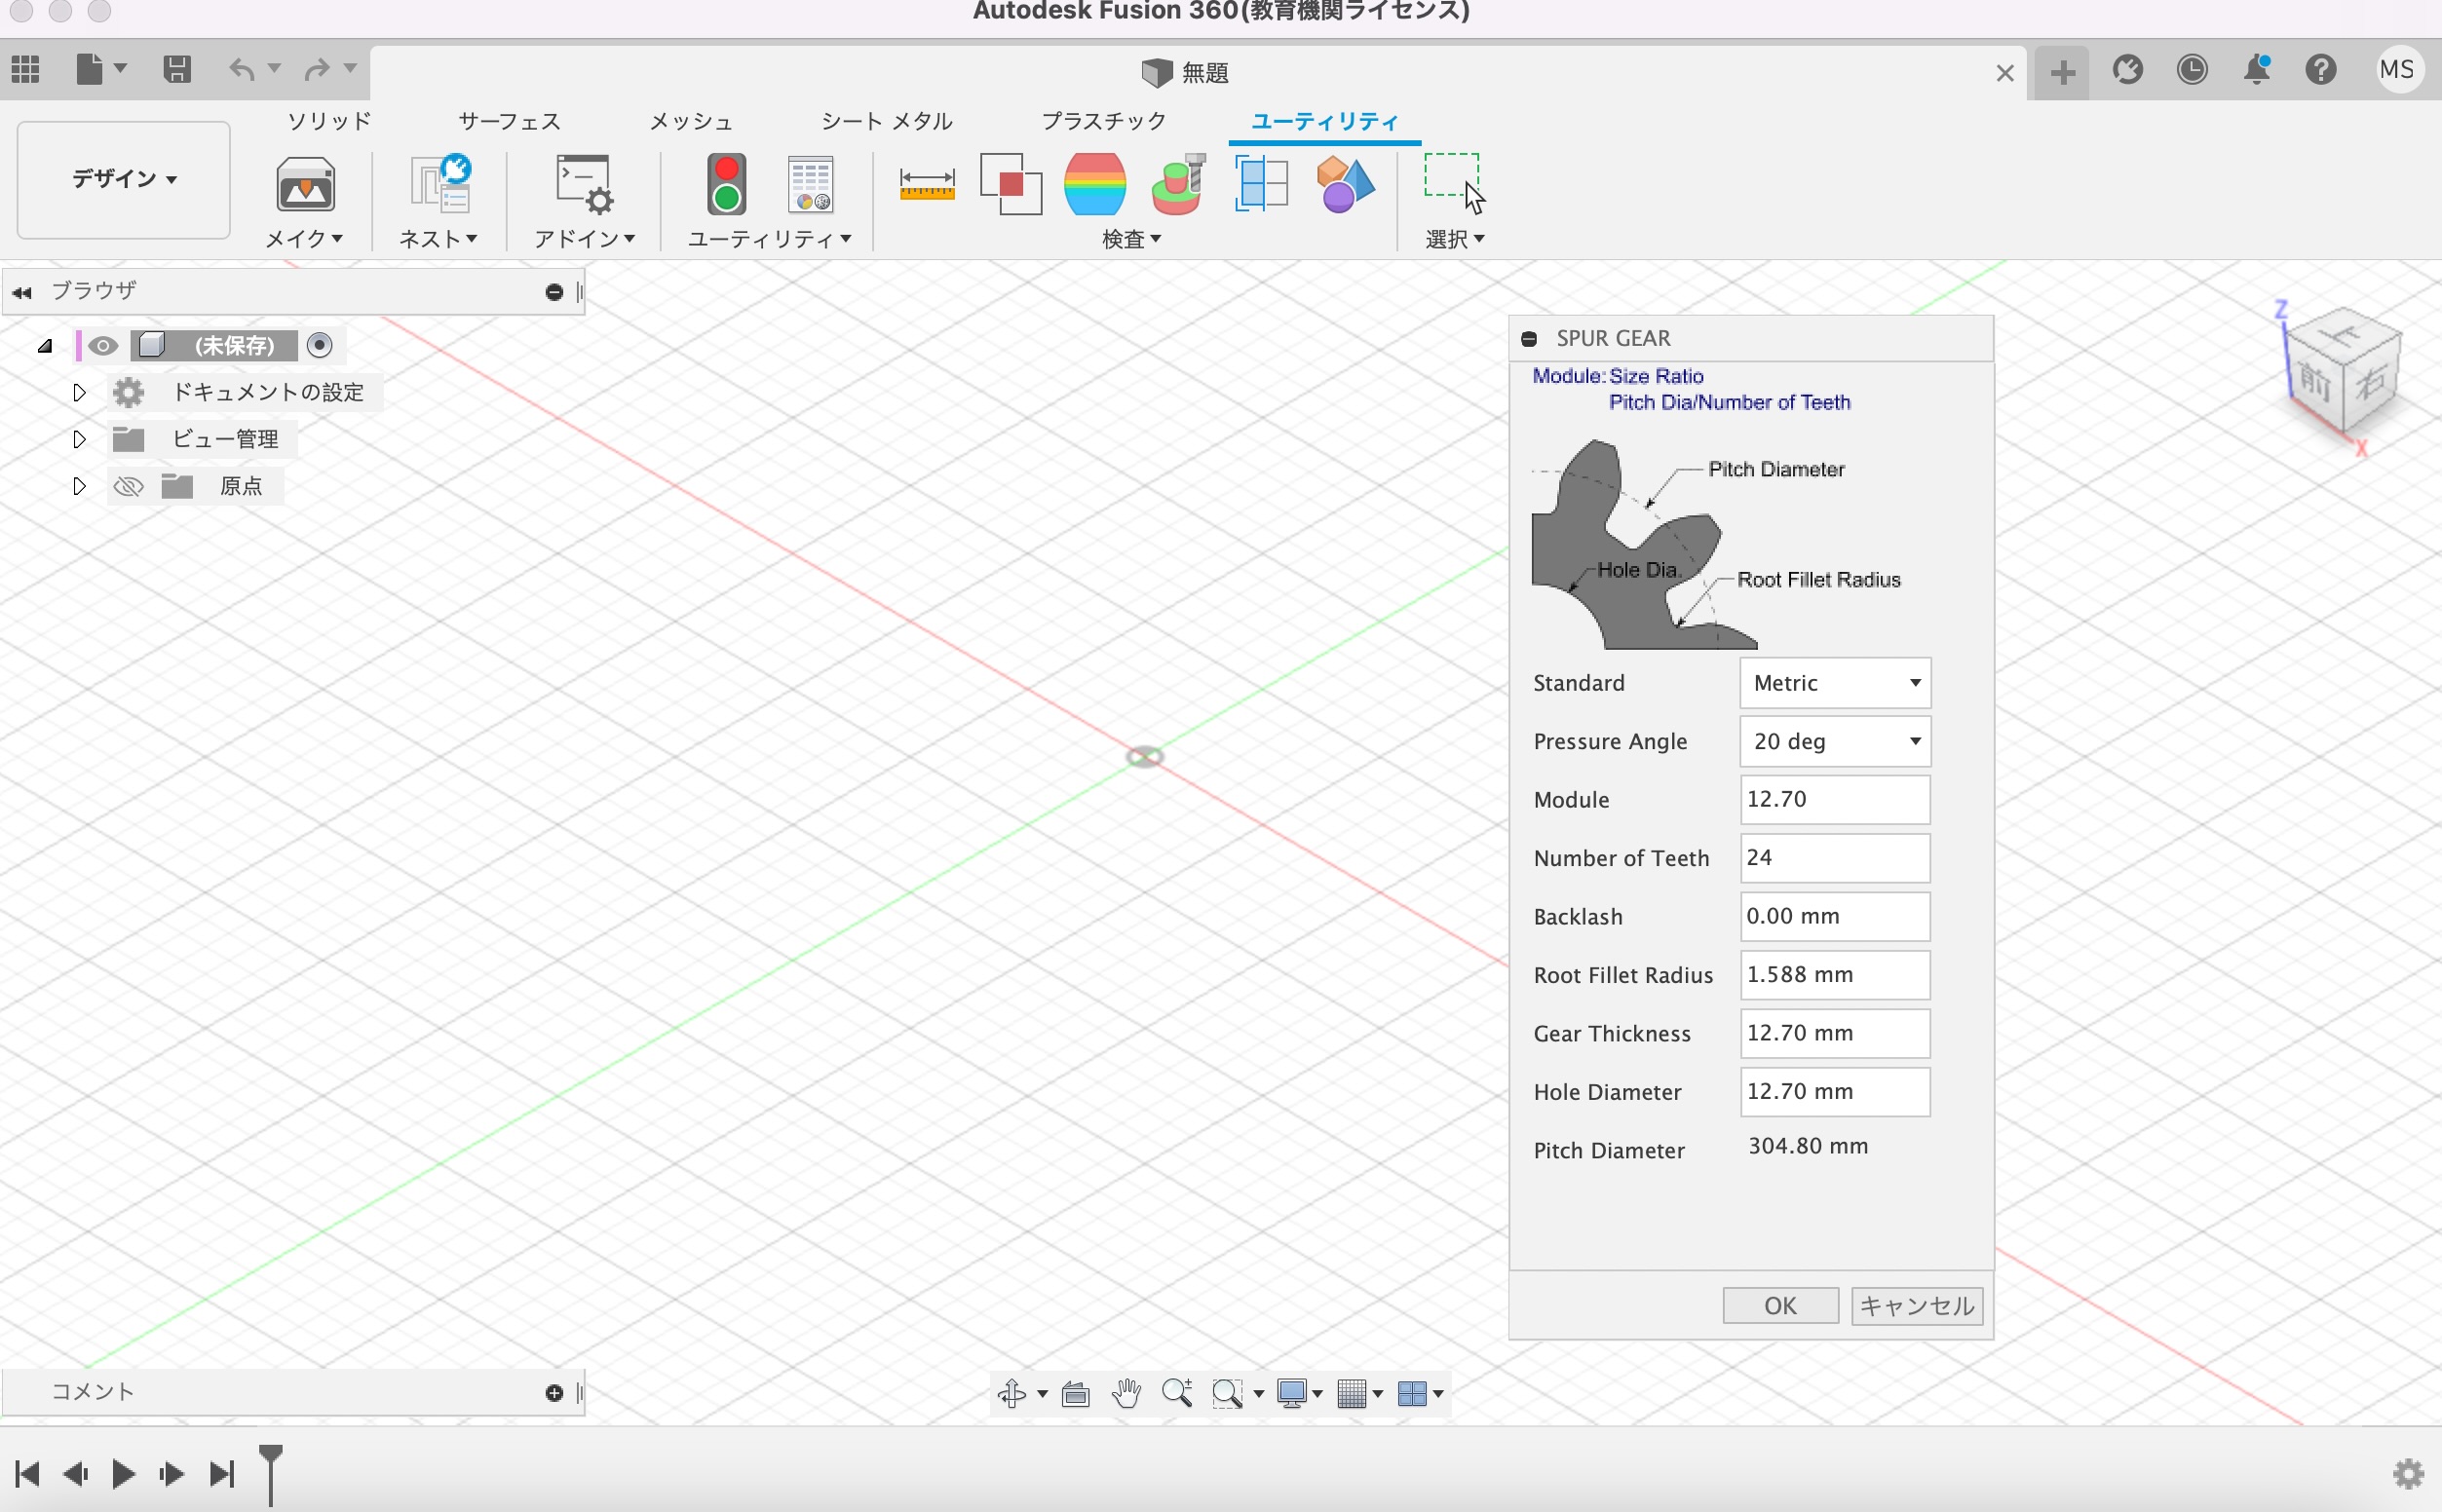
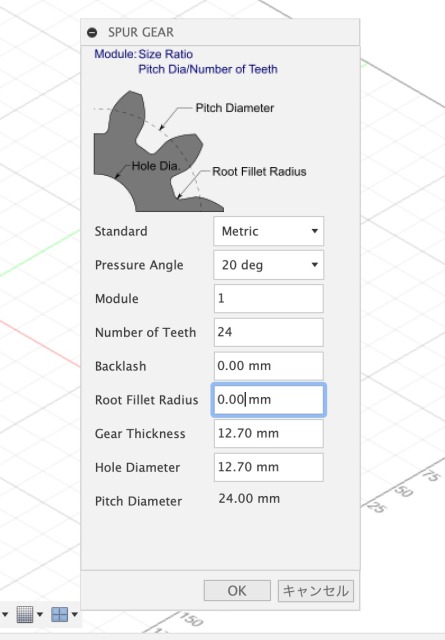
Settings
| Standard | Metric |
| Pressure Angle | 20deg |
| Module | 1 |
| Number of Teeth | 24 |
| Backlash | 0mm |
| Root Fillet Radius | 0mm |
| Gear Thickness | 2.5mm |
| Pitch Diameter | 2.5mm |
About items…
・Standard: Unit of length
・Pressure Angle: The size of the cutting edge
・Module: Pitch Diameter/Number of Teeth
・Number o Teeth: 〃
・Backlash: The expansion gap
・Root Fillet Radius:
・Gear Thickness: The thickness of gear
・Hole Diameter: The size of hole
・Pitch Diameter: 〃
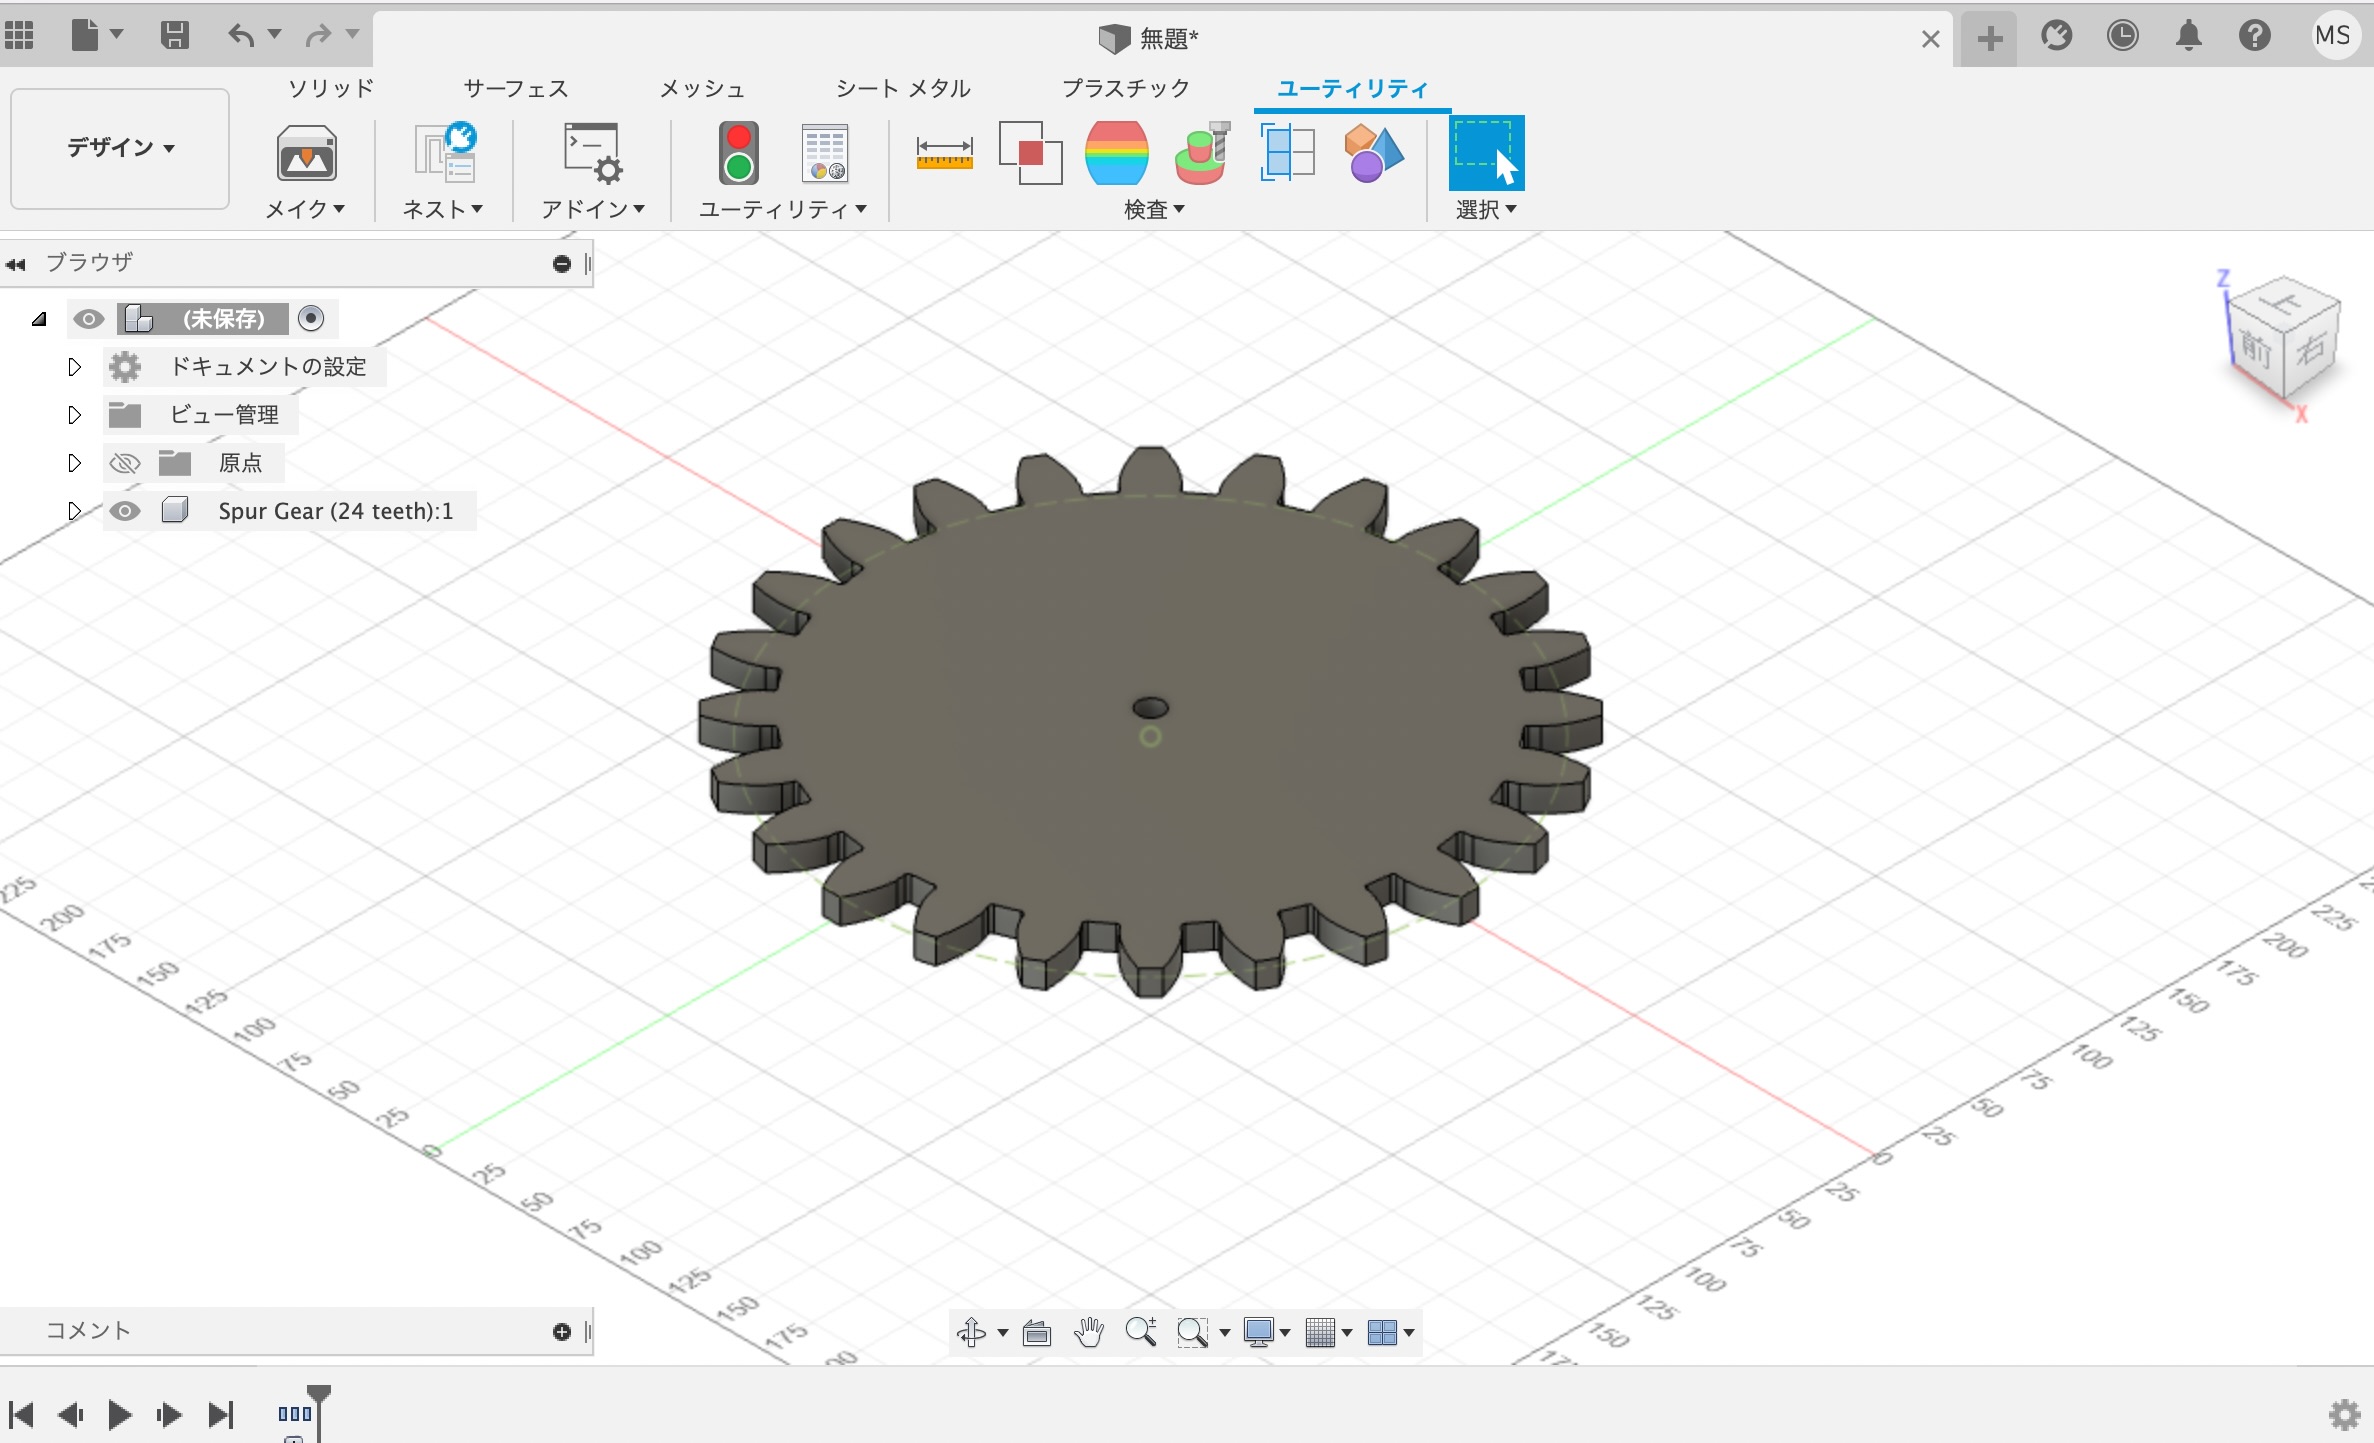
・A spur gear will be shown.
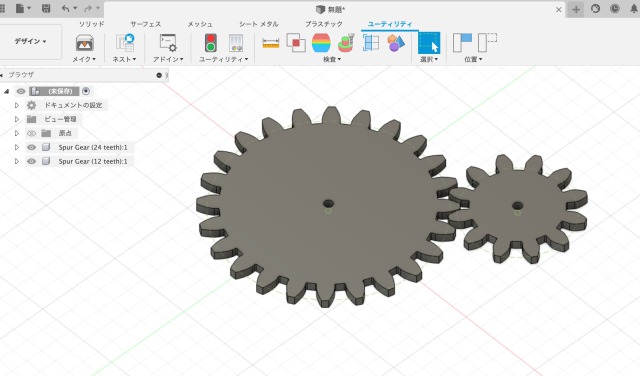
・I added another small spun gear. It can be easily made by changing the number of teeth when setting details.
2. Hands-on Group Work: Design and Make a CleanBox
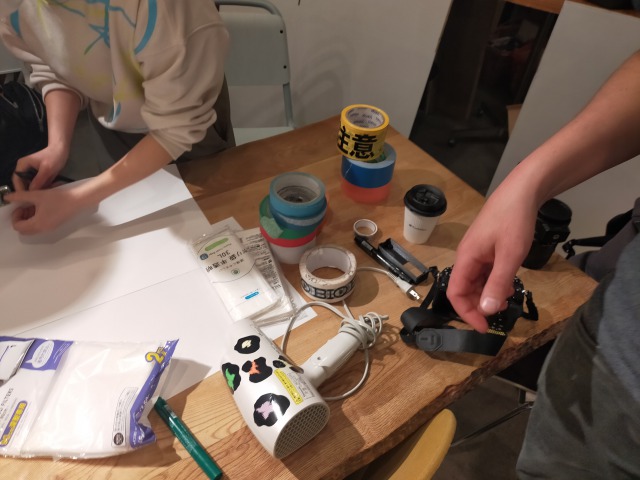
Materials for making DIY Cleanbox
- Cardboard box
- Plastic bag
- Filter for ventilation fan
- Hairdryer
- Tape
- Paper cup
- Cutter
What are essential for a cleanbox are:
- Spatial separation between in/outside of the box
- Air flow (from inside to outside of the cleanbox)
- The space to insert hands into it.
Sketches
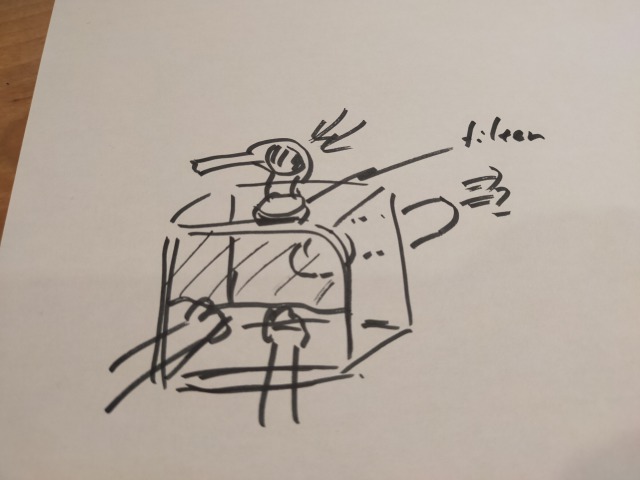
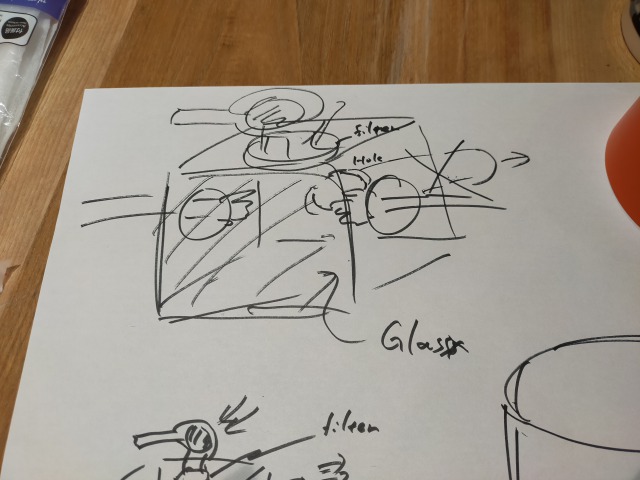
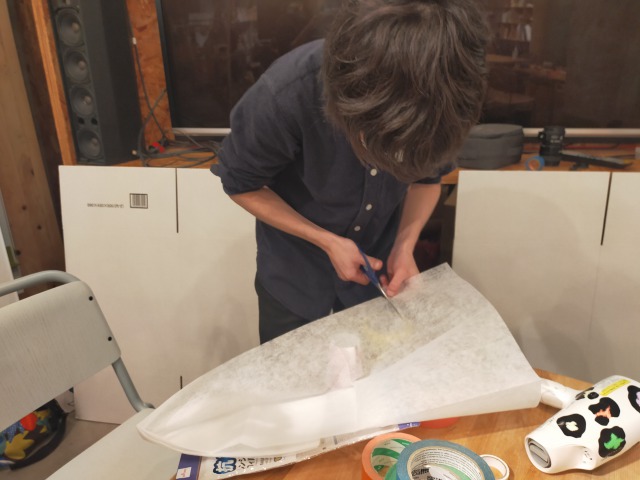
Cut a filter
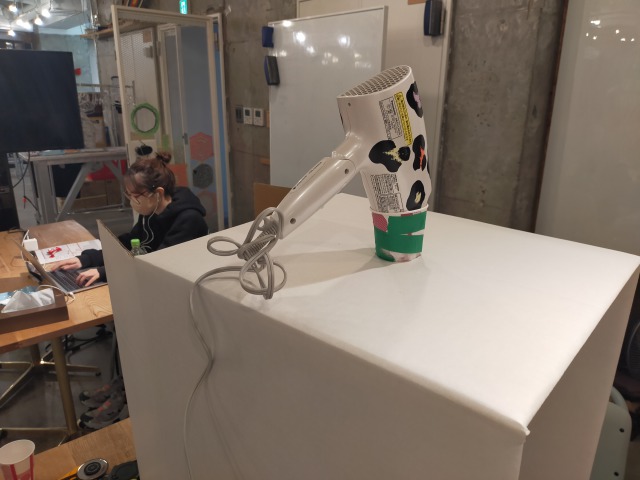
Cut out the bottom of the paper cup.
Make a hole on the top of box to the size of the bottom of the cup.
Use the cup as connection parts and fit a hairdryer into it.
Make armholes on the side of the box.
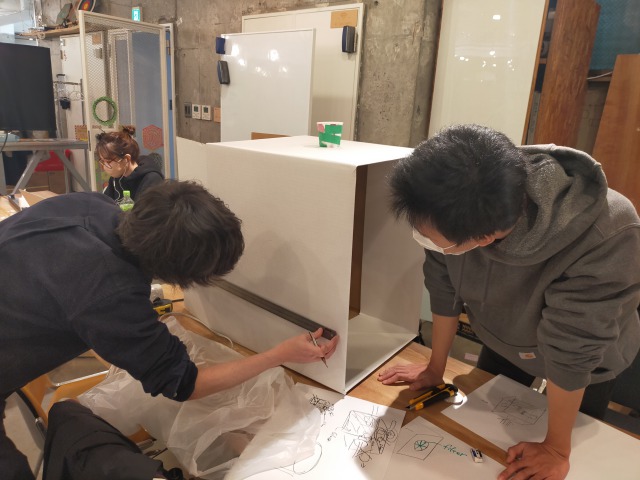
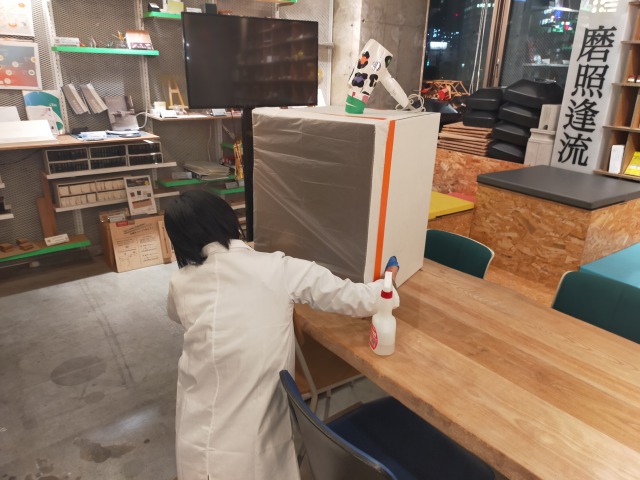
The prototypes which we made.
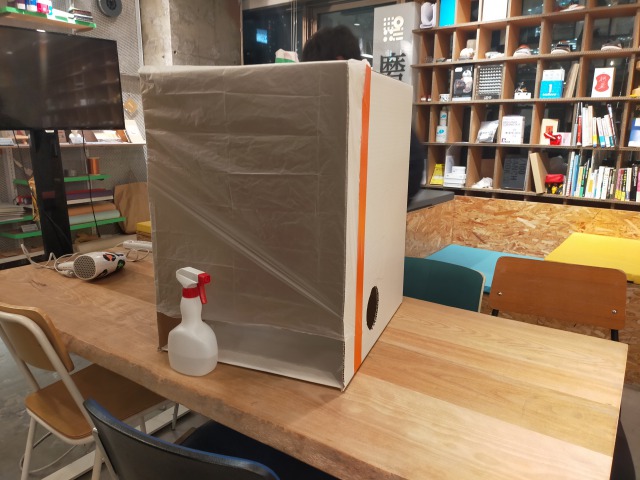
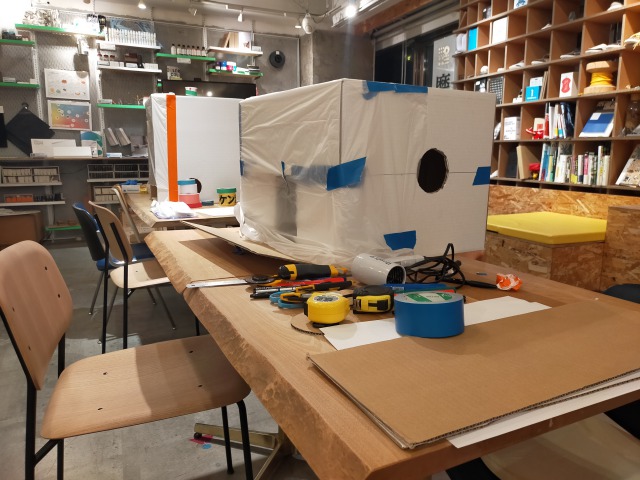
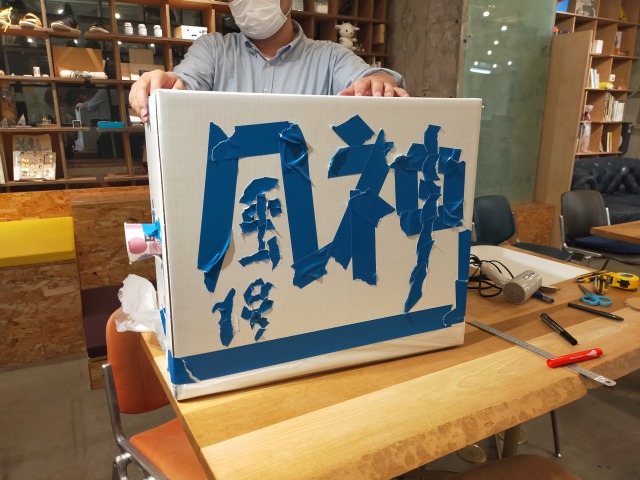
It is hard to say we succeeded to make a useful cleanbox.
First of all, there is problem of visibility. The plastic bag was not transparent, so the user had to look into the inside from the lower space which is open by lowering his/her head.
Second, we found that the width of the box was too big to insert hands from the side. We need to find a smaller box or consider the other designs to enter hands from the front next time.
3. Fork and Change the BHA Stirrer Repo
(1) Folking GitHub repositories
“Folking” means to clone a remote repository and save it in your page.
By folking, you can edit the codes and files of the original.
・Access to the original repository
This time, I have localized BHA’s DIY magnetic stirrer.
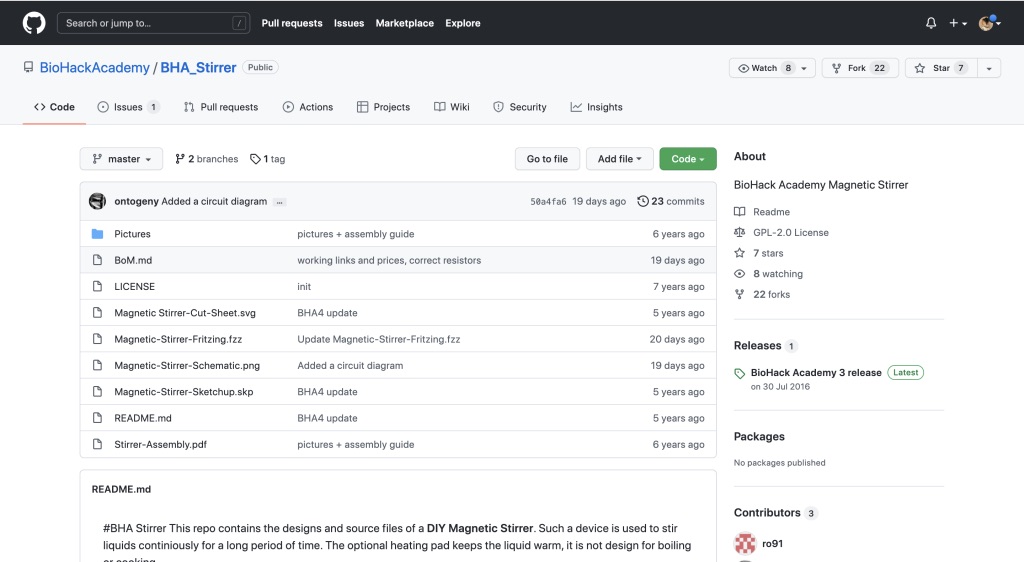
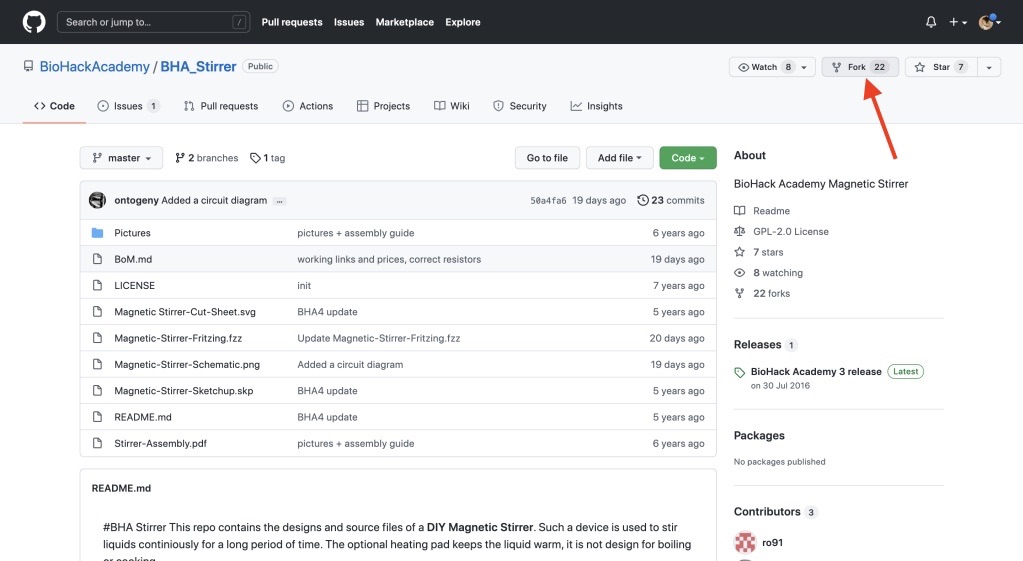
・To localize, push a “local” button on the upper right of the page.
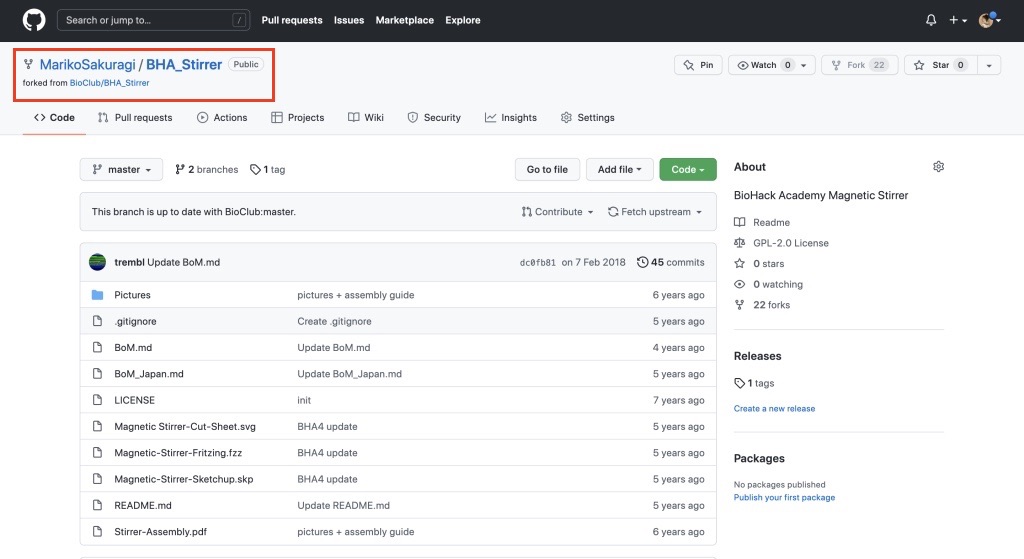
・Then, the page is localized to your own page.
・Click your icon and select “Your repositories.”
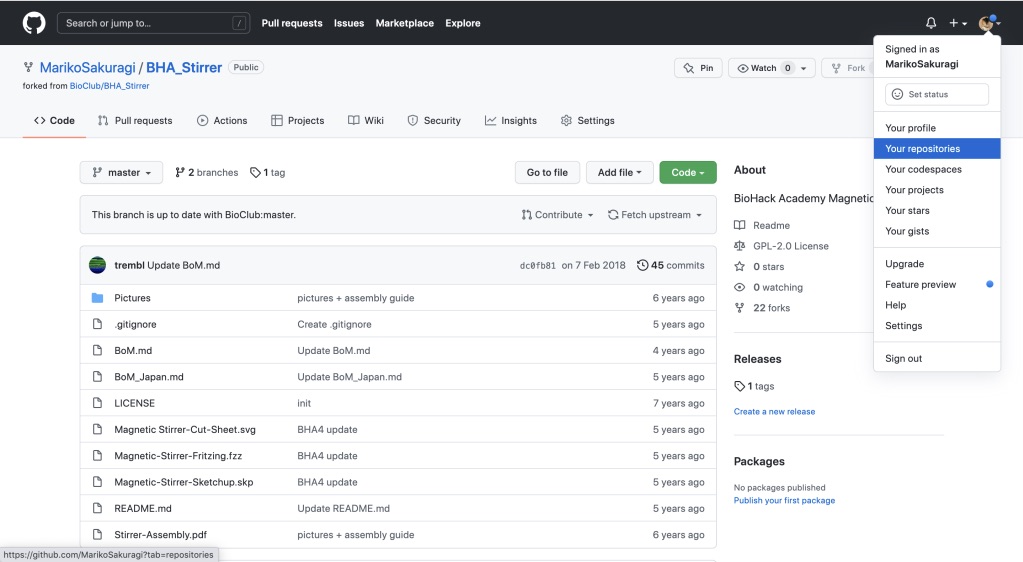
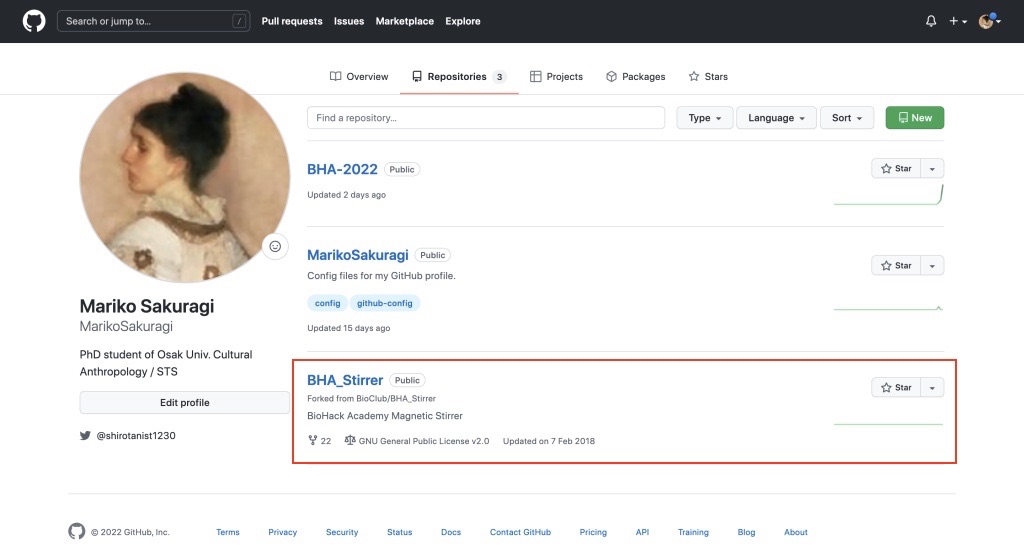
・When you select “Your repositories,” you can check all your repositories.
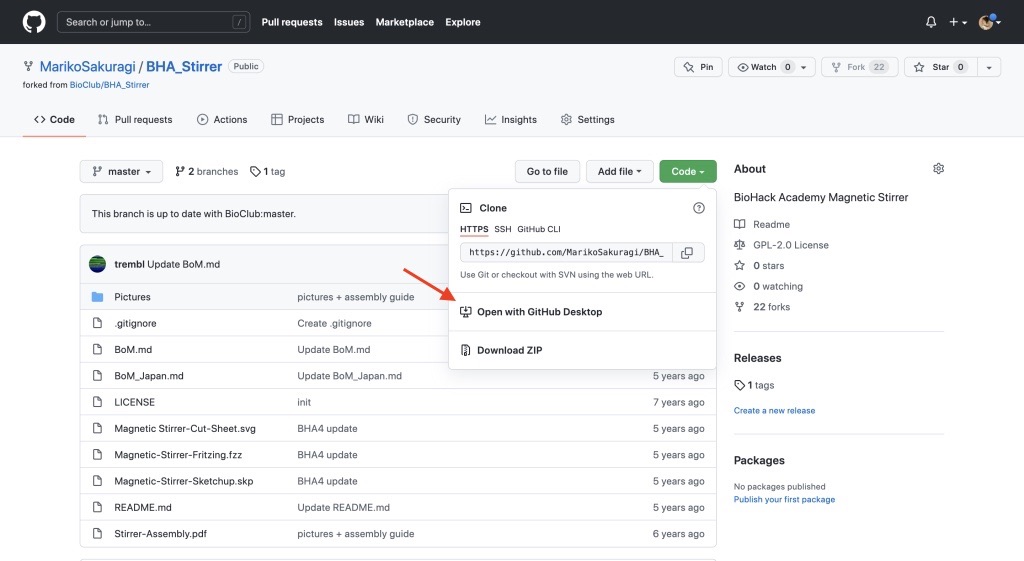
・Click “Code” and “Open with GitHub Desktop,” the GitHub Desktop automatically open, and you can edit the code.
Reference:「Blenderでのインポート手順」
(2) Find out where to get the parts online in Japan
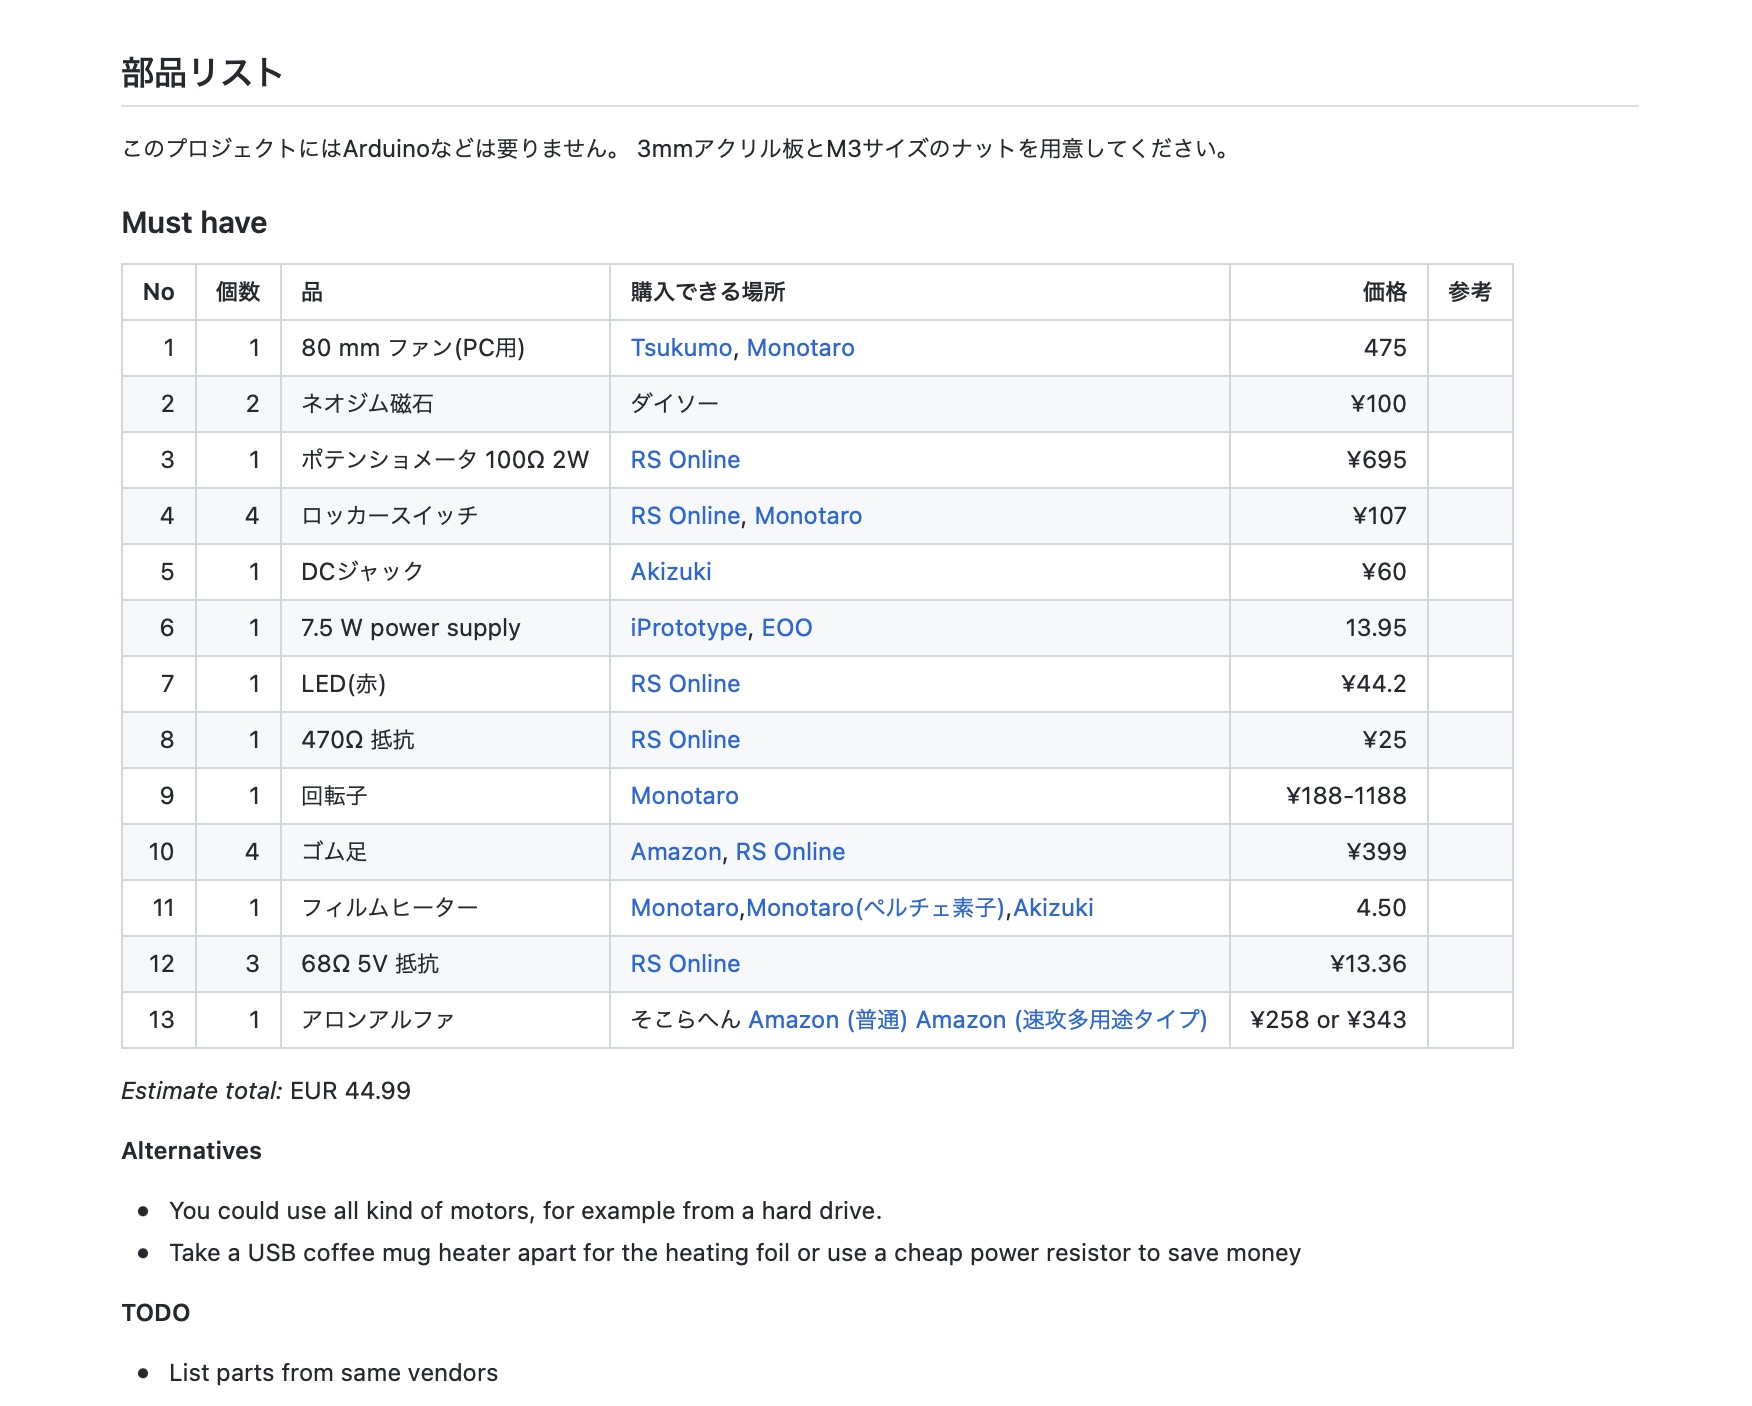
(3) Update the BoM_Japan.md file with more current information.
See BioClub Tokyo GitHub page
↓
“BHA Stirrer” from repositories
↓
“BoM_Japan.md”
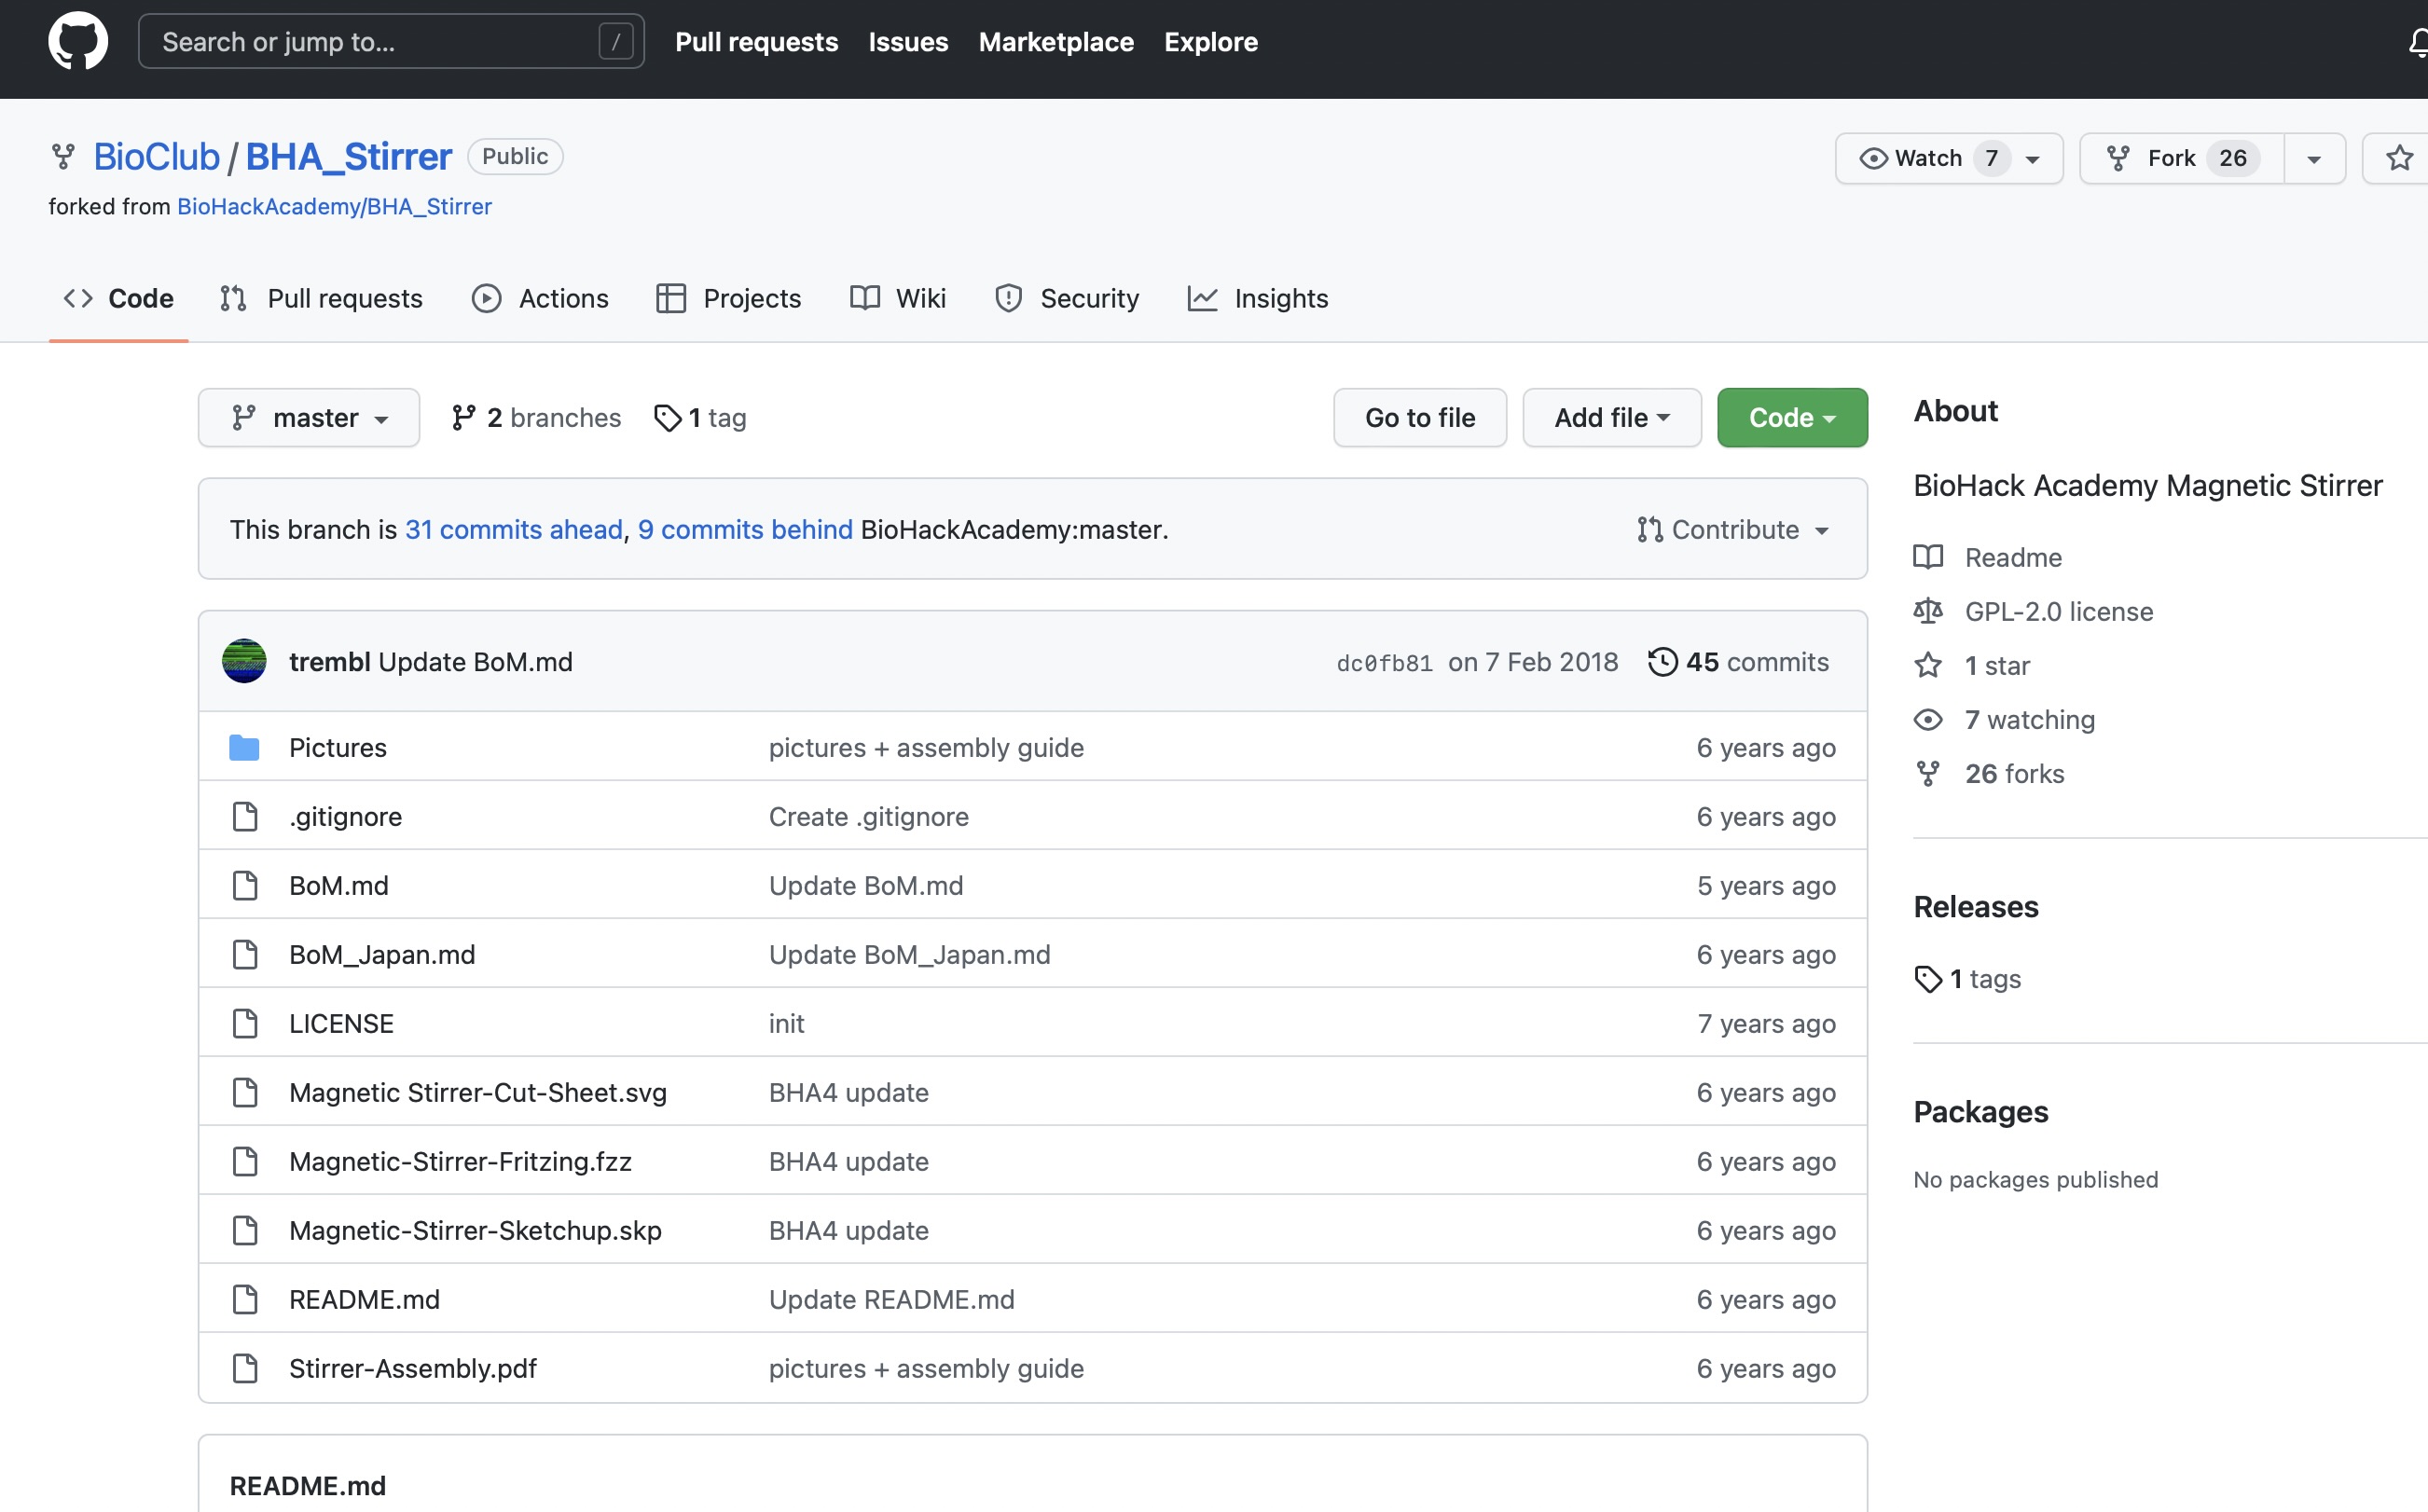
BoM_Japan.md
You can see where you can get the parts in Japan which are necessary for BHA DIY stirrer and those prices.
4. Prepare the PocketPCR Case for 3D Printing
5. Akihabara Tour (optional)
3/19(Sat)
As an option of BHA, we did Akihabara tour for looking around electric parts shops. Akihabara is well-known as a electric town which has long history..
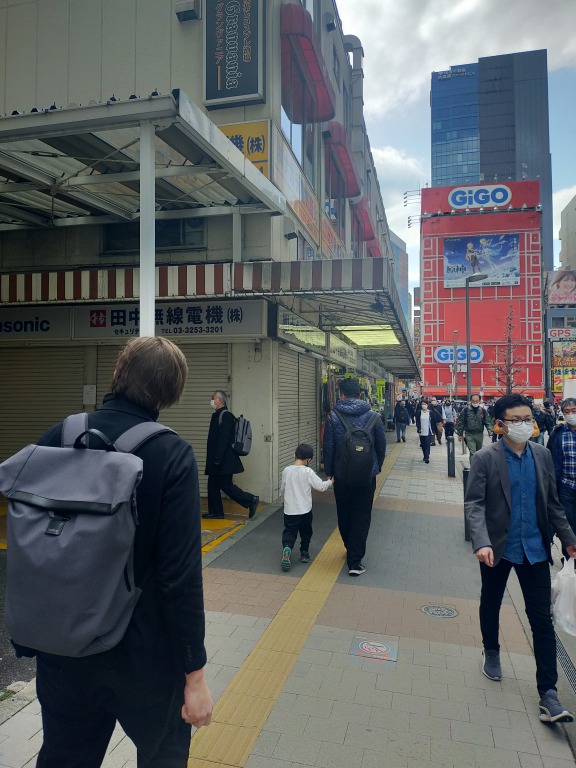
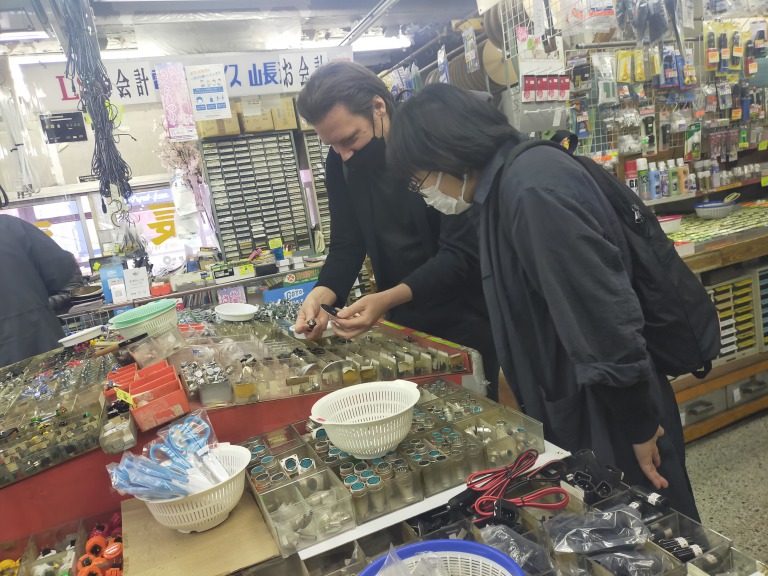
We visited a lot of shops. Georg-san, our local instructor, led the way to an area where old stores were lined up along the street and into an alley. Under the low ceilings with exposed piping and electric lights, there was a cluster of small stores with countless goods and parts crammed into as many as possible. There was a store specializing in radio equipment, an audio store selling used videotapes and cassette tapes, a store selling only electrical buttons, etc.
There were There were also used goods like junk on sale. It was the first time for me to visit such a place, and so to the other female participants. We were curious about everything.
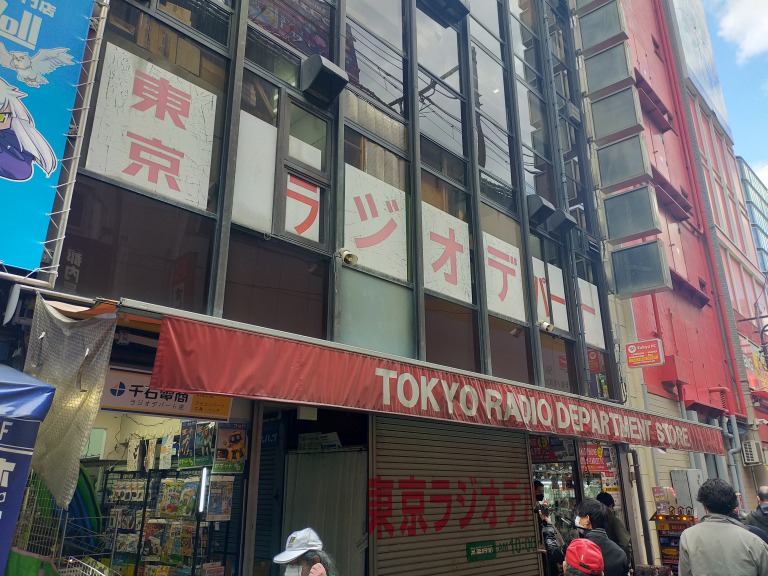
Next, we visited to an old building called “Tokyo Radio Department Store(東京ラジオデパート),” which was entirely occupied by parts stores.
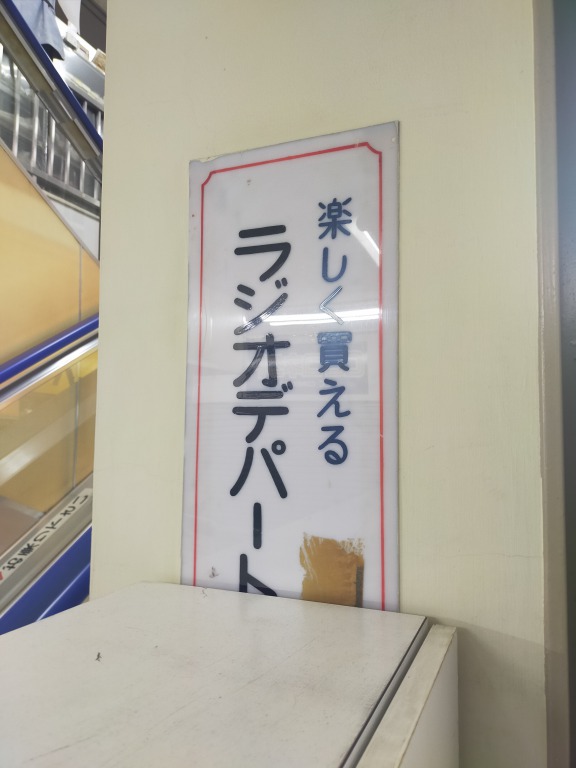
And then went on a short walk to Akitsuki Denshi Tsusho(秋月電気通商) and Sengoku Densho(千石電商), both specialized in electric parts and tools.
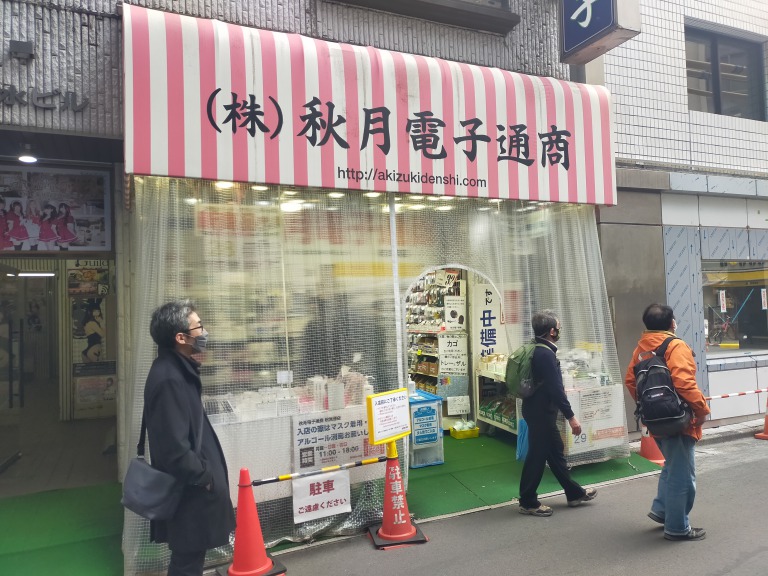
In Akitsuki Denshi Tsusho, the walls of the not-so-spacious store were filled with drawers, and each of the small drawers held various small electronic parts such as resistors, sensors, USB connectors, and so on.
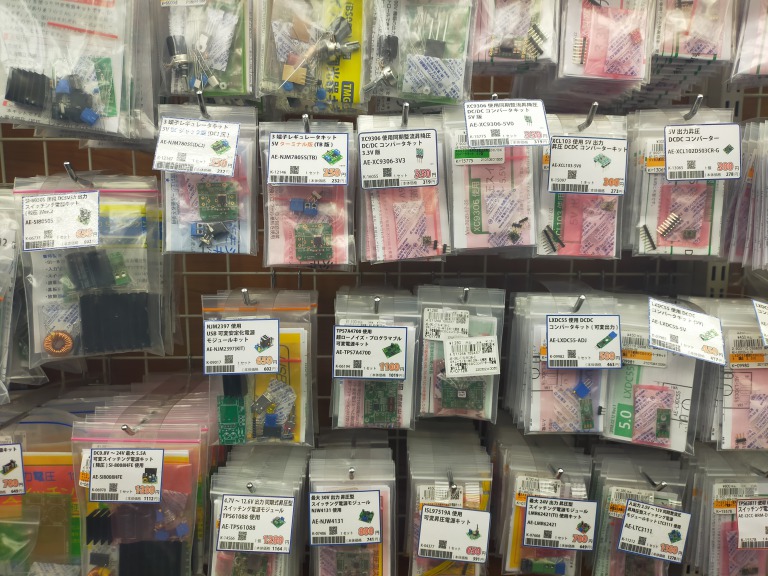
Georg-san opened the drawers and showed us their contents, but these all looked the same to me. This is an Arduino, Georg-san said, and he found a microcomputer Arduino and showed it to me. Georg-san told us that the Arduino was easy to operate and that we would be able to use it in no time. We opened the drawers at random, and got excited talking to each other about the parts in them and what they were. There were more people than expected, and the store was packed with customers.
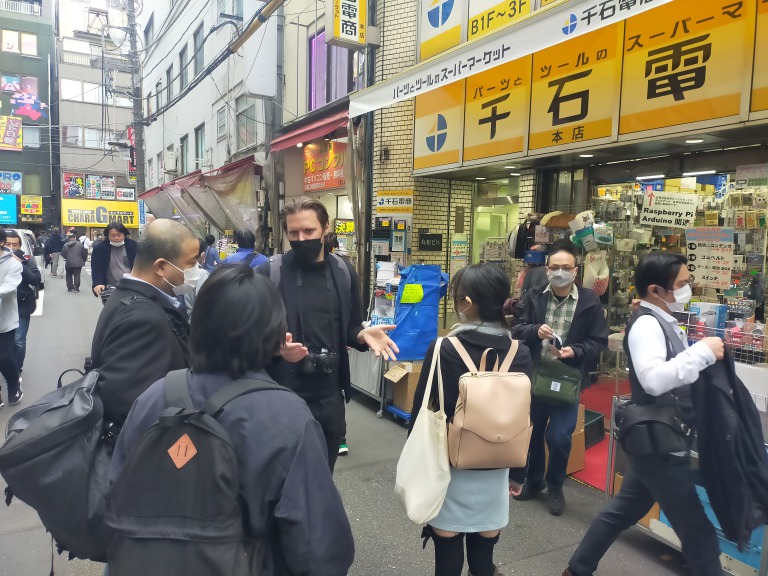
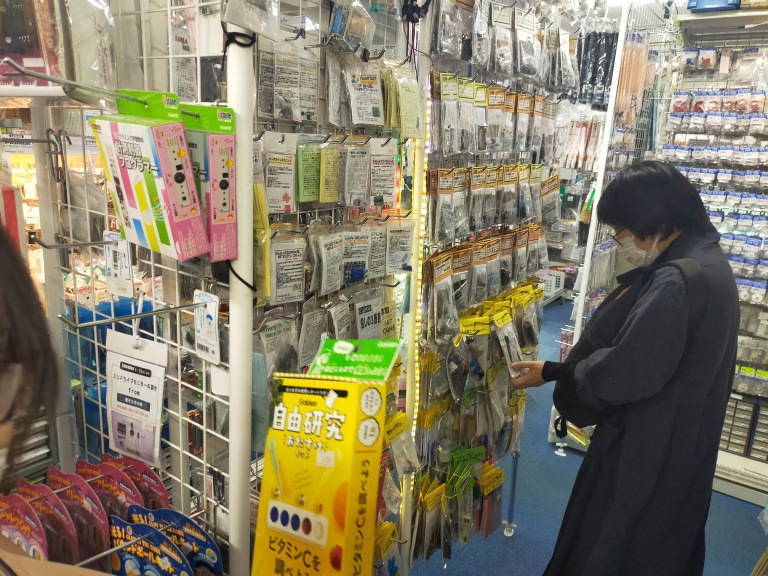
Finally, we went to “Hard-Off” in Akihabara which is a second-hand shop. Hard-Off was a mess of used stereo equipment, used cables, headphones, and tablets.
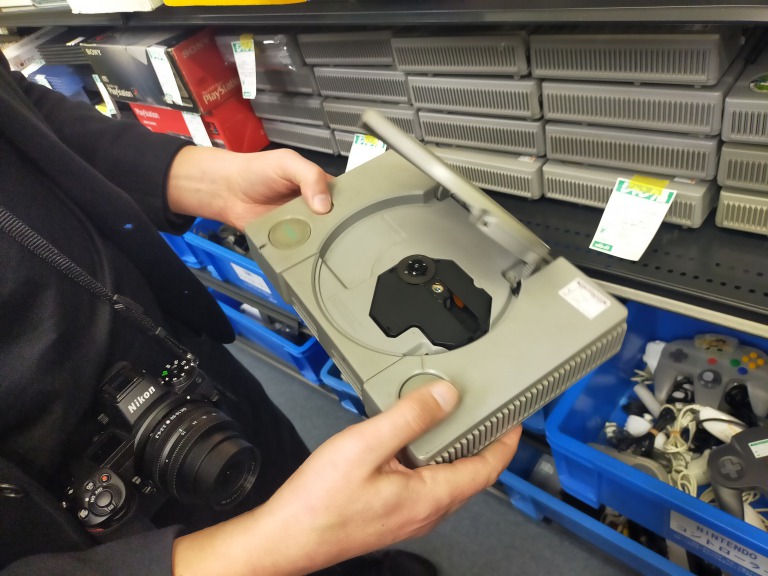
Around 4p.m., our tour came to an end. It was exciting excursion!